100 PanelProof Metal Clips For Bird Proofing Solar Panels - Additional Clip Pack
FREE Shipping
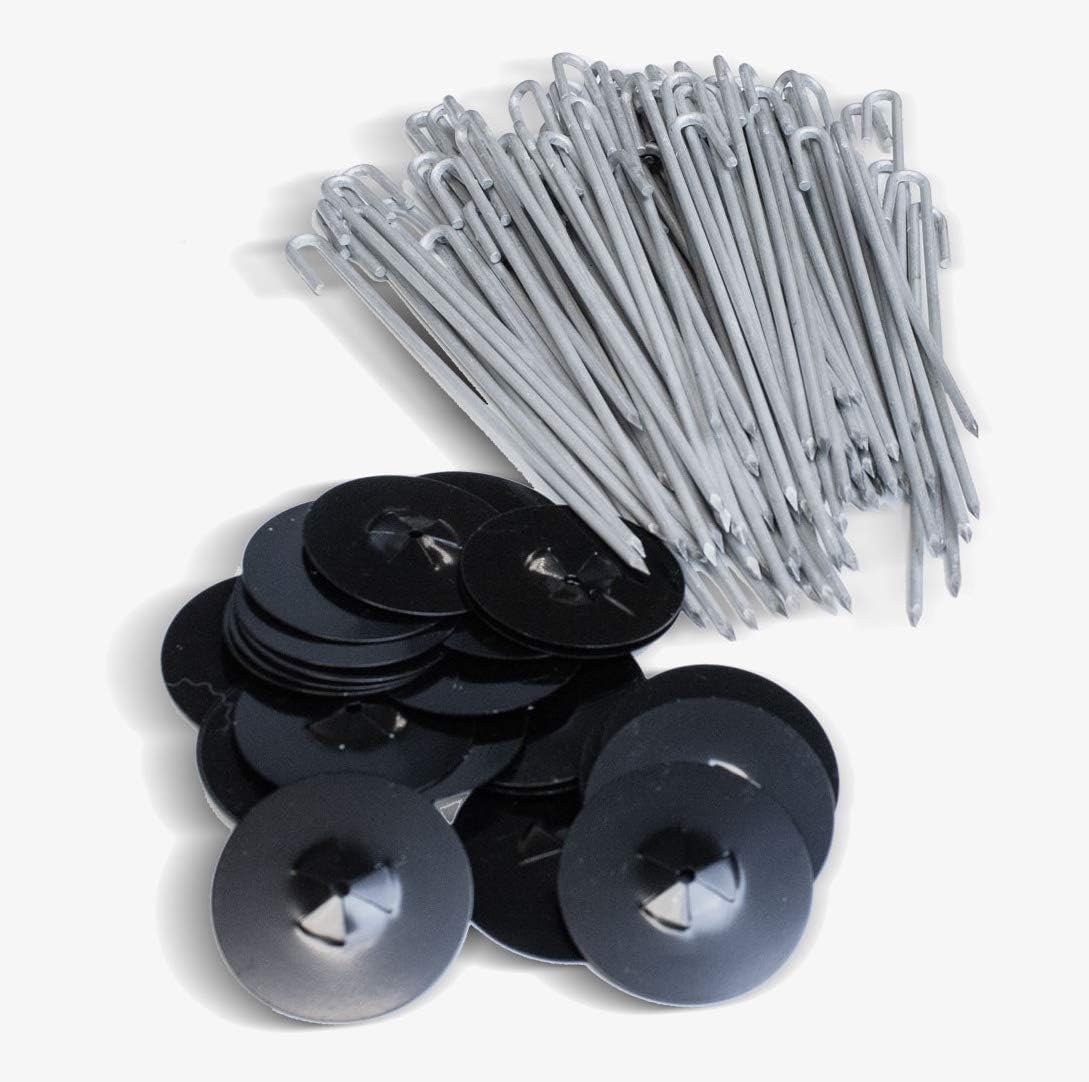
100 PanelProof Metal Clips For Bird Proofing Solar Panels - Additional Clip Pack
- Brand: Unbranded

Description
Next working day delivery is not available for the Scottish Highlands and some remote areas where an additional charge may apply. No screws, nuts or bolts—just pop the Araymond Powersnap Clip Anti-Theft into place and you’re done! Mark connections with a paint pen after you tighten them so you know which connections have been torqued.
stainless steel solar PV cable clips - Solar Parts and stainless steel solar PV cable clips - Solar Parts and
Scaffolding provides a platform to stage materials and walk freely around your roof. Step 5: Mounting Panels Install grounding equipment as you install your rails. IronRidge systems contain one grounding lug per array. As fantastic as solar panels are, installers often forget to tell you about the warm, safe harbourage you have created for birds, primarily feral pigeons. With your batteries safely installed in a suitable room, all that’s left to do is wire them together. As with installation, be sure to follow the wiring instructions provided by the manufacturer of your batteries.Keep a multimeter handy to ensure no voltage is present before you work on your system. Heavy Lift Safety Though off-gassing is rare for sealed batteries, it could still happen in a worst-case scenario. Because off-gassing is possible, the battery enclosure needs to be ventilated properly. In many cases, building codes will apply the same requirements as they do for flooded lead-acid batteries. Use our solar panel installation guide for ensuring the safety of yourself and others throughout the installation process. Protective Equipment
Solar Panel Pigeon Exclusion Clip - By PestFix SolarFix - Solar Panel Pigeon Exclusion Clip - By PestFix
If your system uses micro-inverters or power optimizers, it’s a good idea to make an array map that identifies where each device is located in the array. Follow manufacturer guidelines for installation clearances to ensure that the equipment can cool effectively.Do not place anything between the battery terminal and the ring terminal of the interconnect cable. The Solar Panel Mounting Clip is a simple, affordable, and easy-to-use mounting solution for the fast installation of solar panels.
Solar Panel Clamps for mounting installation Solar Panel Clamps for mounting installation
As with every step of the solar panel installation process, proper safety precautions should always be taken. Before working with batteries, review the following safety guidelines: Safety Guidelines For All Batteries All junction and splice boxes must meet the voltage and amperage requirements for the circuit they are part of. Depending on the type of roof you have, the process will differ, but we’ve included steps for the most common types below, along with some tips on spacing and layout for flashings. Spacing and Layout Tips Ensure that all wires are stripped and/or terminated properly using a torque wrench/driver when necessary. Get everything else in place before you mix your concrete. Once the concrete is wet, you won’t have time to adjust forms and make changes.
There are several other ways to stop birds nesting underneath your panels, although we recommend using our specialist mesh for solar panel pigeon protection, of which we are the largest user in the UK. Determine the proper breaker size and source a breaker that will work with your existing panel. It’s ideal to use the same make and model as other breakers in the panel. Run the wiring from the solar source to a junction box, then transition to your conduit run. The wiring must remain in the conduit run until it reaches the inverter (for grid-tie systems) or charge controller (for battery-based systems).
Solar Panel Bird Control Fastener J Hook Aluminium Steel Clips
If none of the previous methods work, you can drill exploratory holes in your roof to search for rafters. For inner corners: cut the wire mesh upwards from the bottom until the bend point, secure any overlay sections together using cable ties. This non-penetrating system is fast and easy to install, does not void warranties and can be removed for servicing, please see installation images bellow.Once a rafter is found, measure 0.75 inches from the edge to the center of the rafter. Mark this location so you can drill the lag bolt directly through the center of the rafter.
- Fruugo ID: 258392218-563234582
- EAN: 764486781913
-
Sold by: Fruugo